Protein-butter cream for cake decorating
0
5045
Kitchen
World
Calorie content
285.6 kcal
Portions
3 port.
Cooking time
20 minutes.
Proteins *
7.3 gr.
Fats *
3.7 gr.
Carbohydrates*
61.8 g
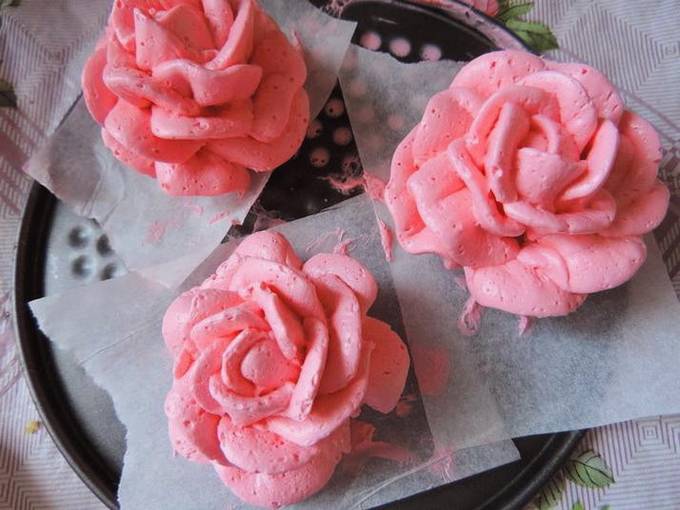
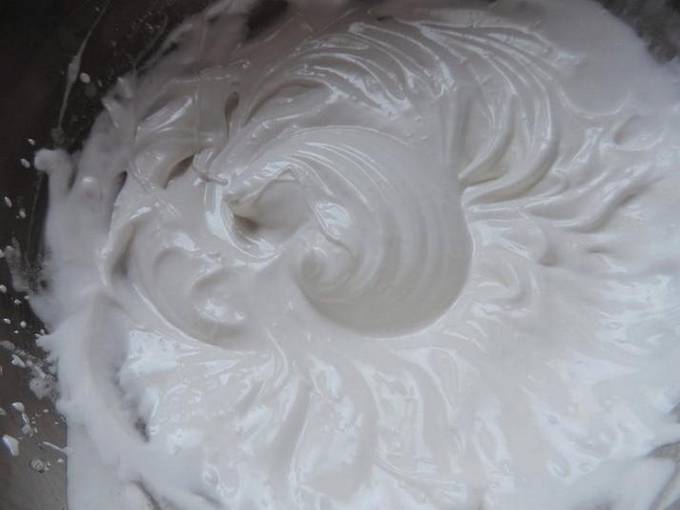
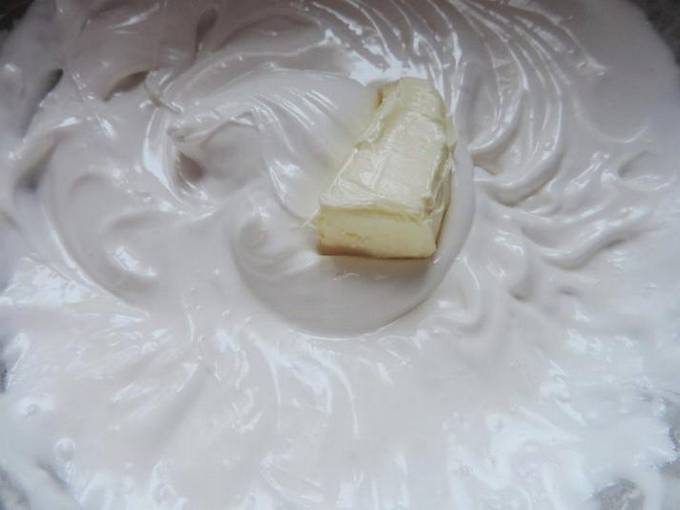
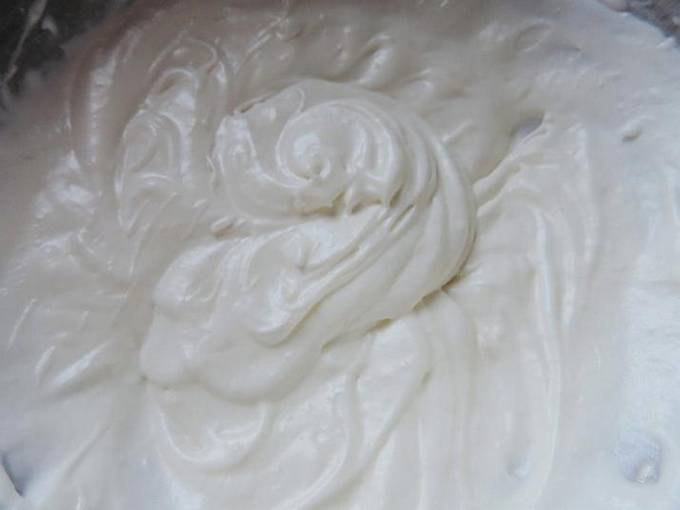
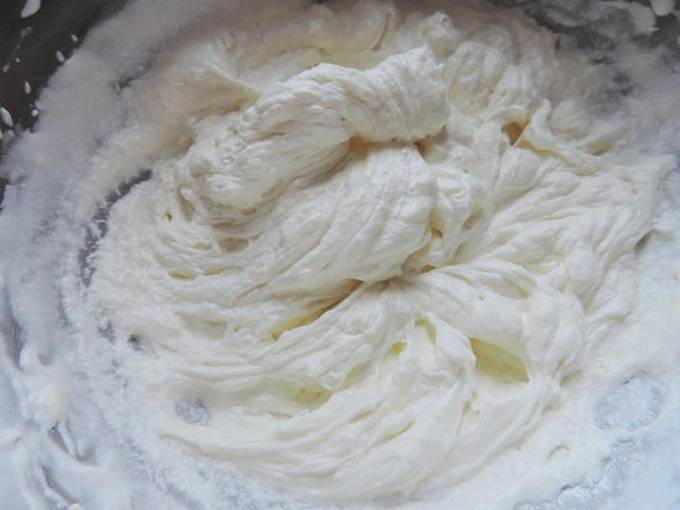
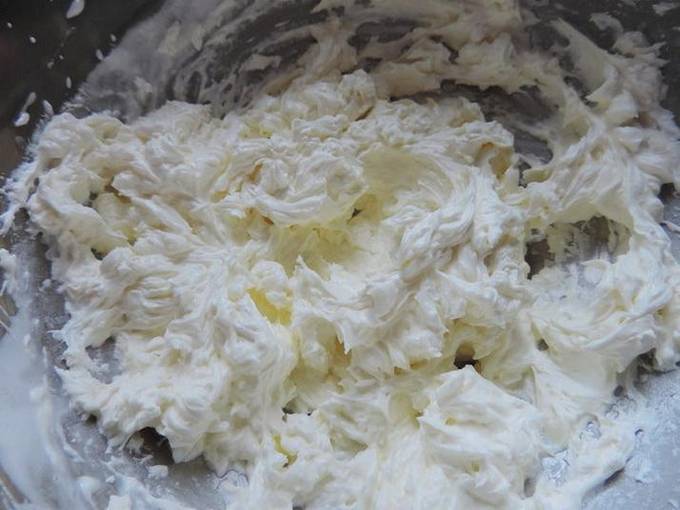
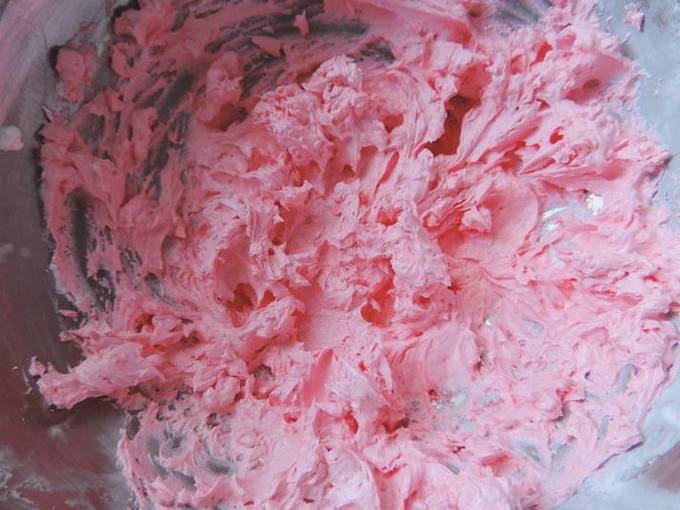
This cream is great for cake decorating. It keeps its shape flawlessly. You can even plant voluminous decorations separately, and then place them on the cake in the form of a composition. It is very pleasant that the cream is non-greasy and lightweight, such as, for example, a purely oily version. And what is important, the cost of such a cream is very inexpensive. The protein mass is not capricious and always behaves predictably - this can be a kind of guarantor that the cream will definitely work out.
Ingredients
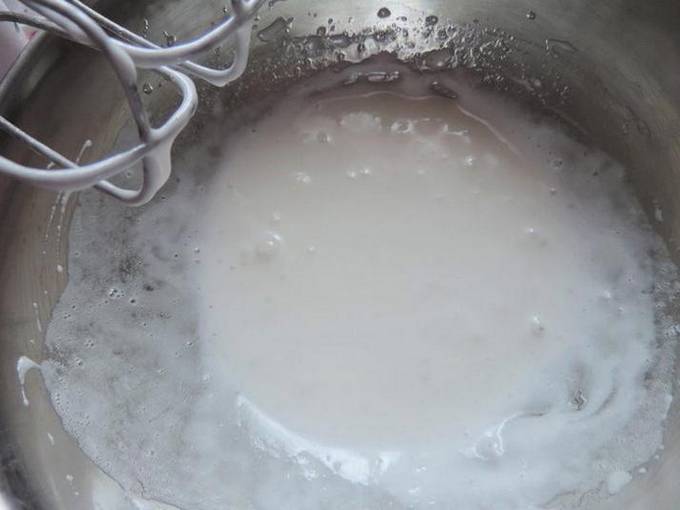
Cooking process
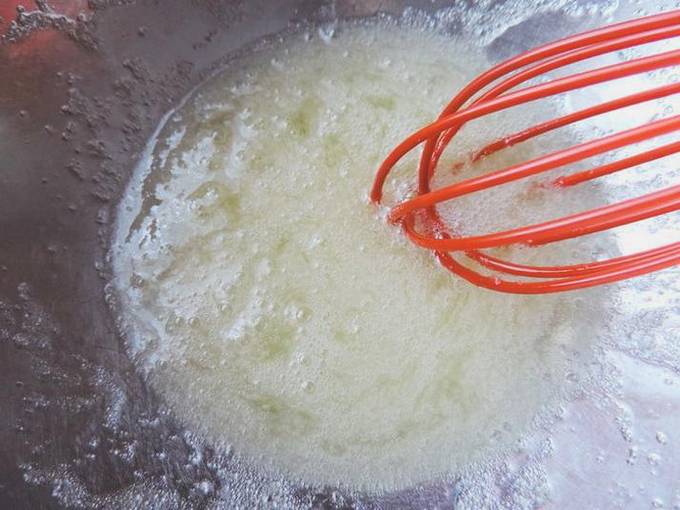
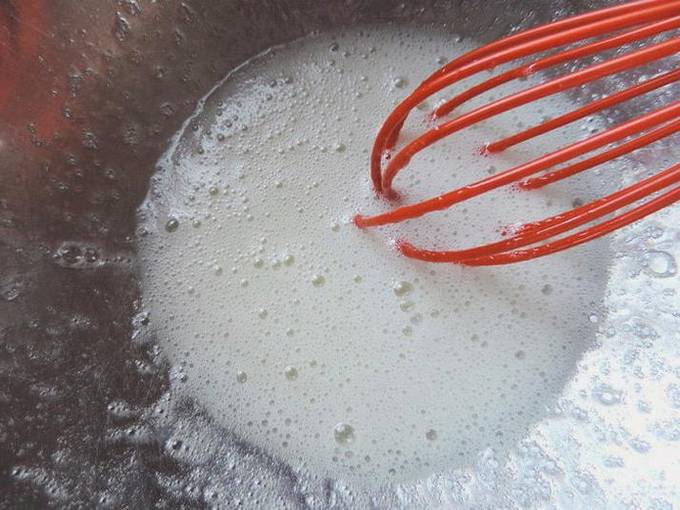
It is necessary to achieve complete dissolution of the sugar crystals. We stir the proteins quite intensively - this way the mass will not brew, and the sugar grains will melt faster. We take a drop of proteins and rub it between our fingers: if the mass is smooth and crystals are not felt, then we remove the proteins from the bath. The proteins should already be warm enough - very warm.


Bon Appetit!