Yolk sponge cake
0
576
Kitchen
European
Calorie content
215.2 kcal
Portions
2 port.
Cooking time
30 minutes.
Proteins *
3.2 gr.
Fats *
3.5 gr.
Carbohydrates*
63.5 g
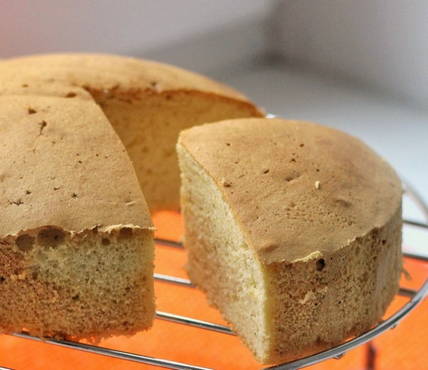
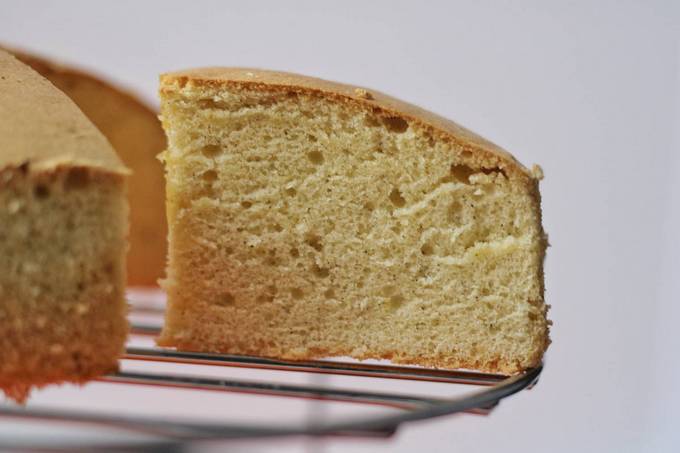
Such a biscuit will be very useful if the proteins are used, but the yolks remain. They are not stored for a long time, so it is better to use them right away. The yolk sponge cake turns out to be elastic and rather dense. Will be good with any impregnation - it needs extra moisture to show its texture in all its glory.
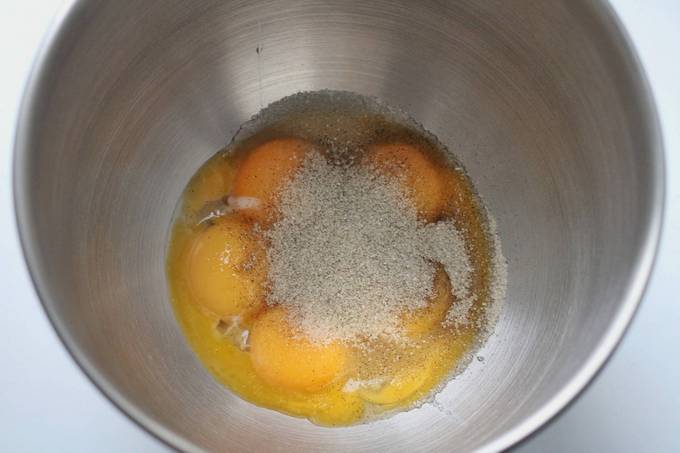
Ingredients
Cooking process
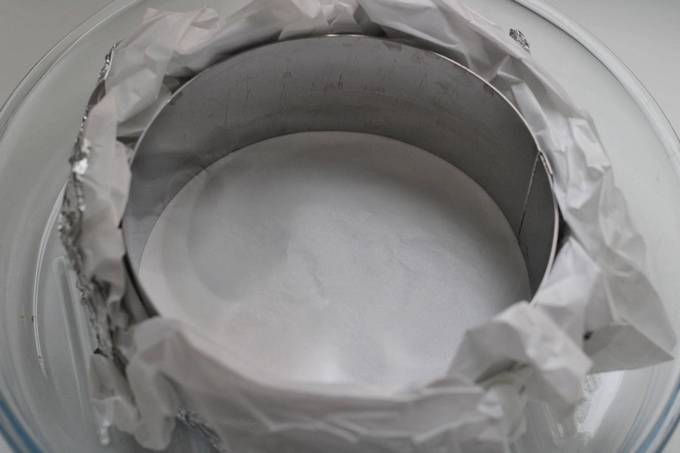
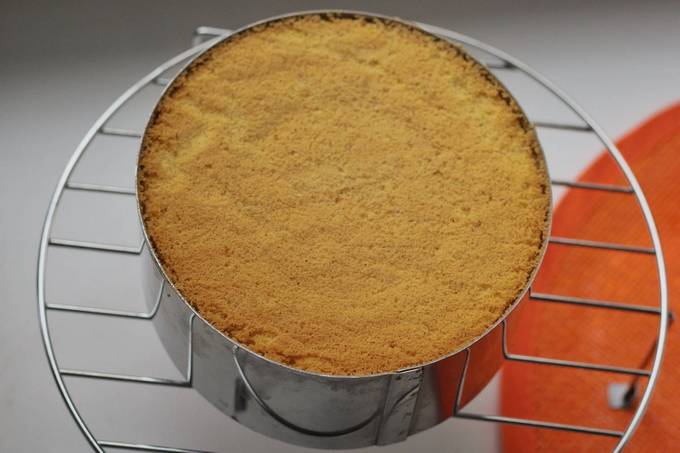
In order for the oven to warm up, turn it on before making the dough. We set the temperature to 180 degrees in the "top-bottom" mode. Let's prepare the form right away. For the volume of dough from the specified number of ingredients, a form with a diameter of 14-15 cm is used, then the biscuit is high. It is convenient if the form is split - it is easier to remove the ready-made biscuit. Grease the form with vegetable oil or cover with oiled parchment. If the mold is silicone, you do not need to lubricate it with anything.
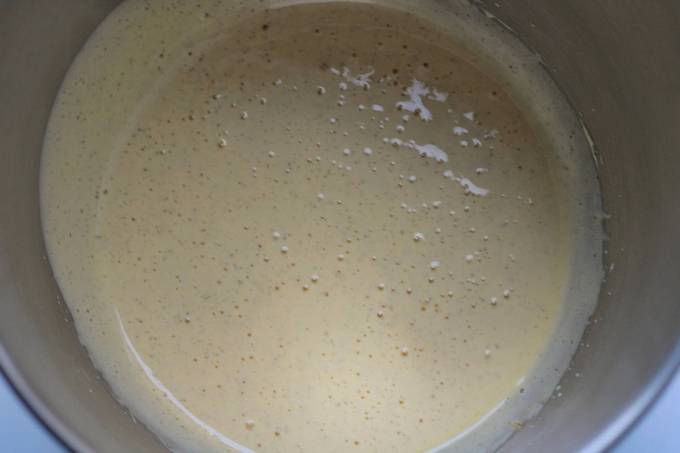
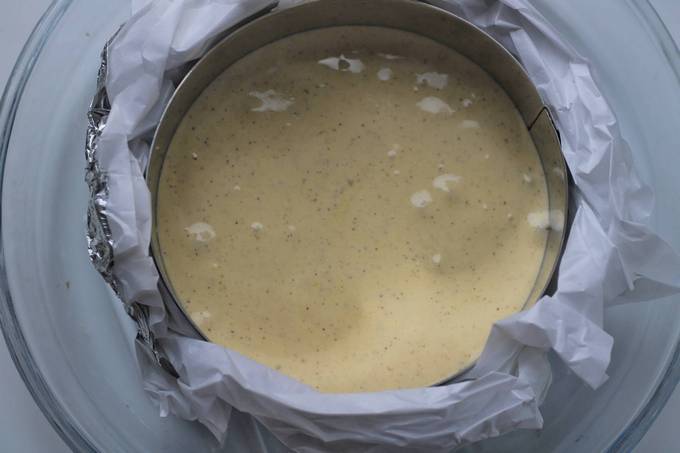
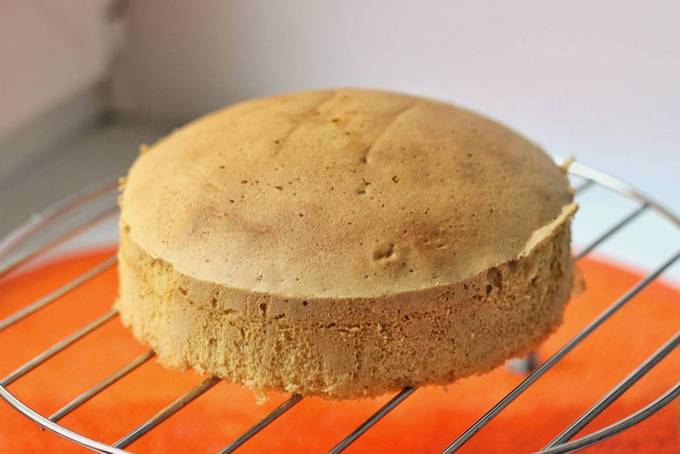
Pour the prepared dough into the prepared mold. We put the form with the dough in the preheated oven on the middle level. We bake for twenty to twenty five minutes. The finished biscuit should grow noticeably and brown well. If in doubt about readiness, check by sticking a toothpick into the middle of the biscuit. If it comes out dry, it's ready. If there is raw dough, bake further.
Bon Appetit!