Sponge cake with raspberries
0
1855
Kitchen
European
Calorie content
175.6 kcal
Portions
6 port.
Cooking time
80 minutes
Proteins *
5.9 gr.
Fats *
7.7 g
Carbohydrates*
34.7 g
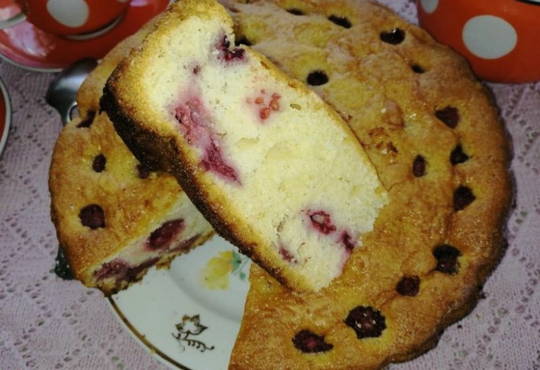
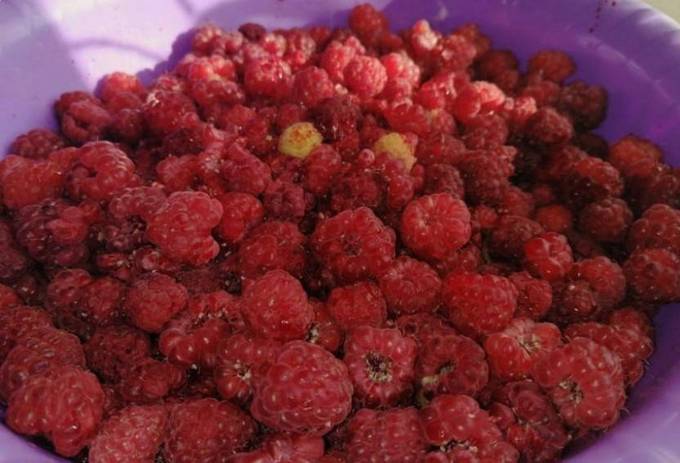
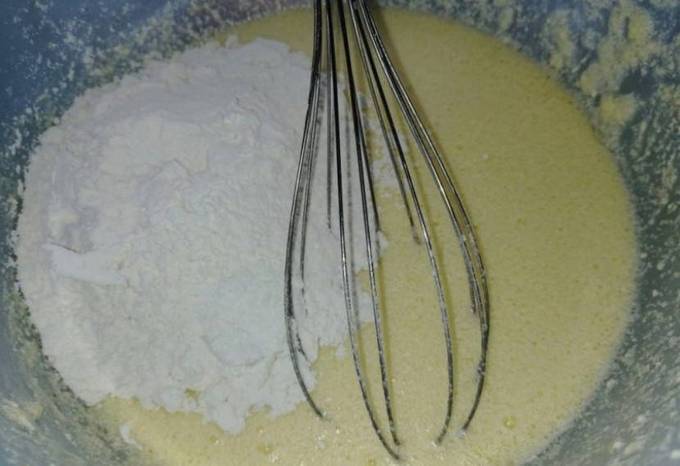
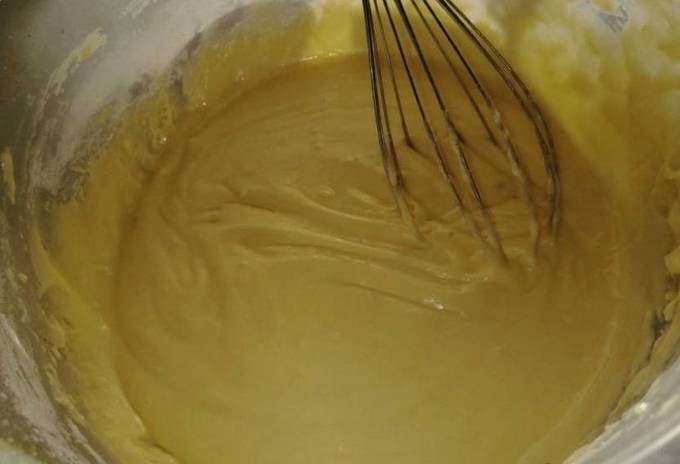
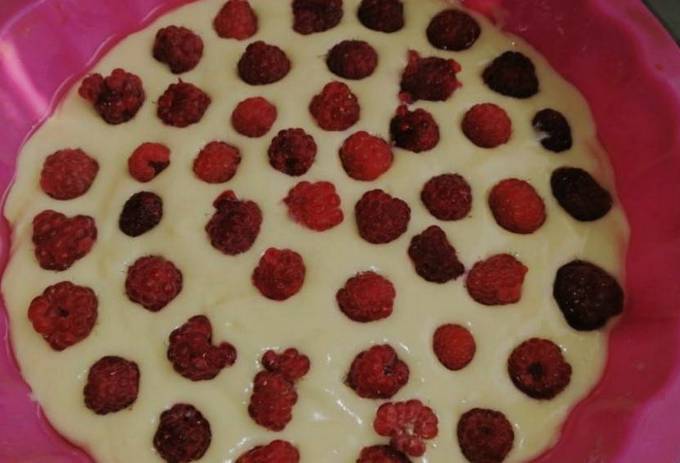
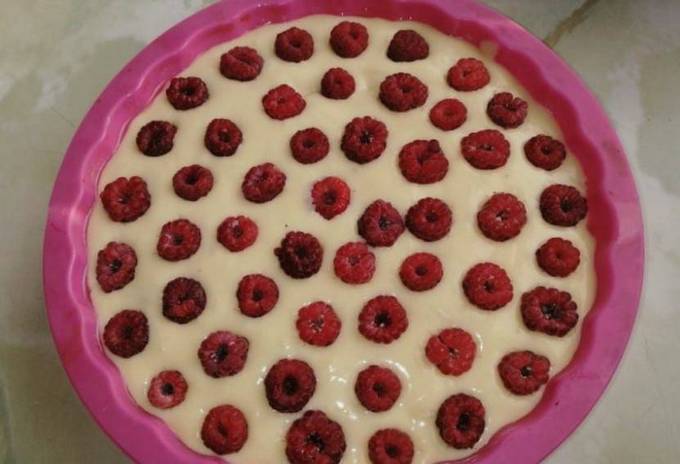
Biscuit dough always goes well with juicy berries. In this recipe, add fresh raspberries. So that the biscuit holds the texture well and bakes, regardless of the moisture of the berries, add butter and fatty sour cream to the dough. Such baked goods are quite a self-sufficient treat; there is not enough, perhaps, a cup of tea or coffee.
Ingredients
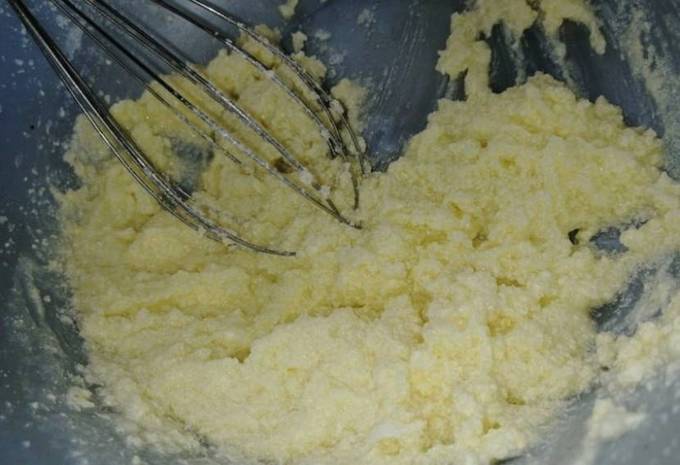
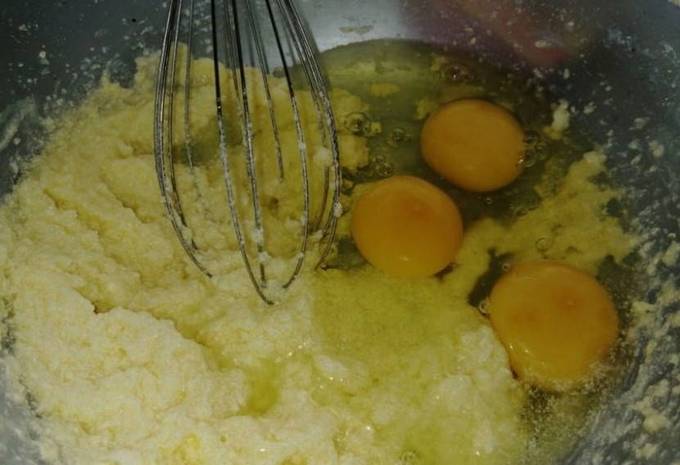
Cooking process
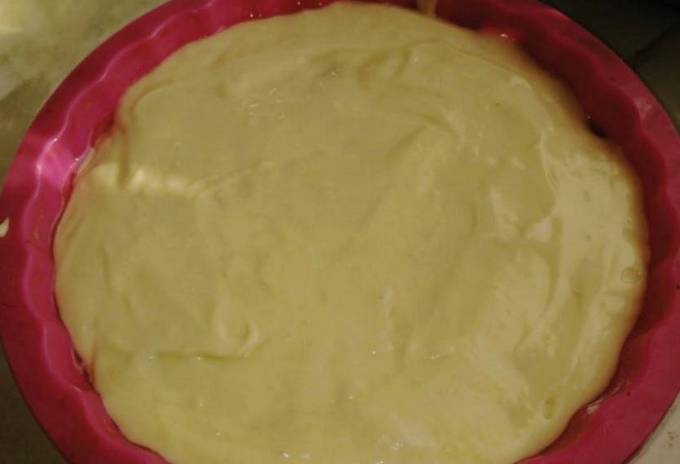

Preheat the oven to 170 degrees and set the dish with the dough to a medium level. We bake for 45-50 minutes. By the end of baking, the biscuit will noticeably grow in volume and brown well. You can check the readiness with a wooden toothpick by sticking it into the dough: if it comes out dry, the pie is ready. If the dough is still wet on the toothpick, continue baking and repeat the doneness test a little later.
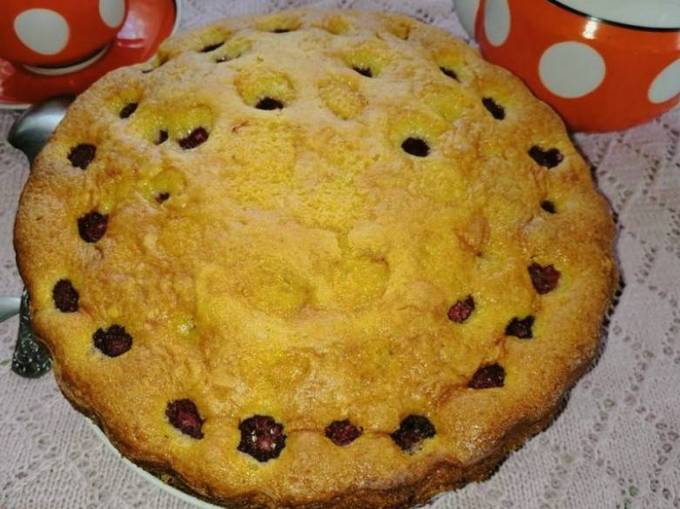

Bon Appetit!