Sponge cake "Japanese silk"
0
1798
Kitchen
Asian
Calorie content
247.8 kcal
Portions
6 port.
Cooking time
80 minutes
Proteins *
5.8 gr.
Fats *
8.6 gr.
Carbohydrates*
41.8 g
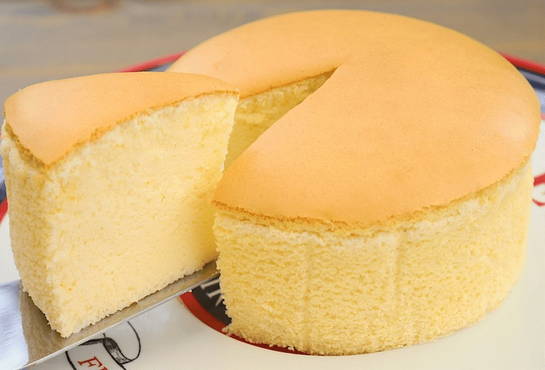
This type of biscuit is called silk for a reason. Its texture is delicate, melting in the mouth, airy, like silk. It is very important to follow the cooking technology and beat the ingredients with high quality at the right stage. Then the biscuit will turn out the way it was intended according to the recipe. It is completely self-sufficient without any additives; biscuit is also very good in the composition of cakes.
Ingredients
Cooking process
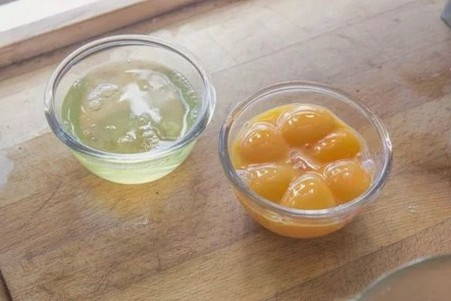
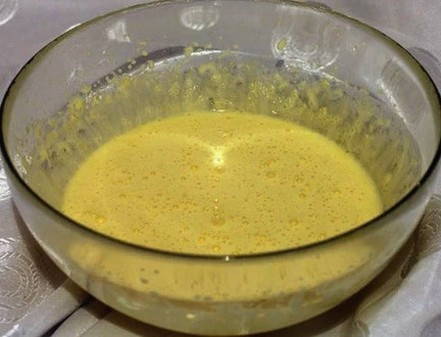
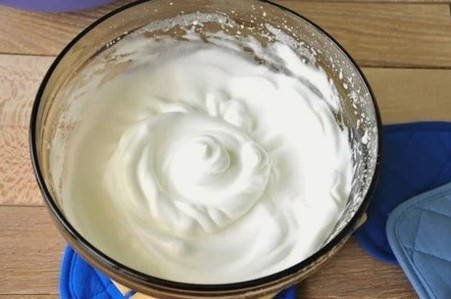
We put the proteins in the refrigerator so that they cool and whisk easier. Put the yolks and one egg in a wide bowl, add granulated sugar, vanilla sugar and begin to beat at a slow speed. As you whisk, we increase the speed and achieve a thick, whitish mass. The volume of the mass should double. The approximate whipping time is ten minutes.
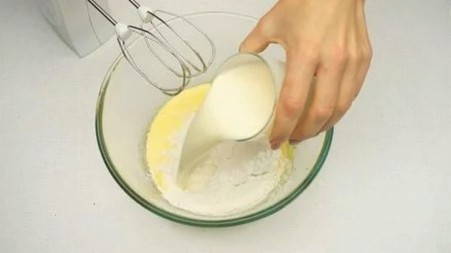
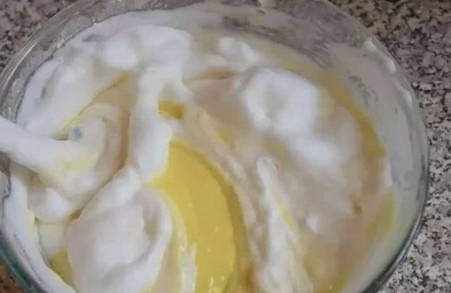
Add the protein foam in portions to the yolk dough, kneading the total mass in a circular motion. It is important to qualitatively mix the proteins into the dough so that there are no separate protein areas left - this will ensure an even rise of the biscuit during baking. For the introduction of proteins, it is convenient to use a silicone spatula - it is soft and allows you to combine the masses with maximum accuracy and efficiency.
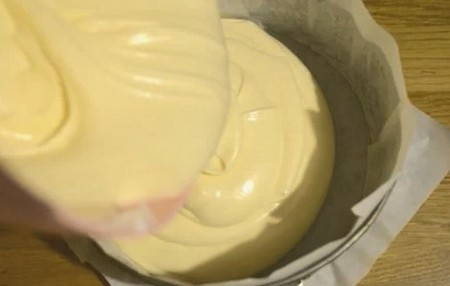
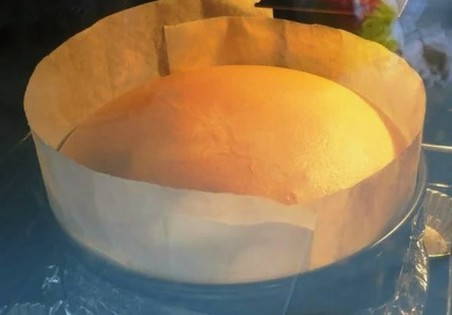
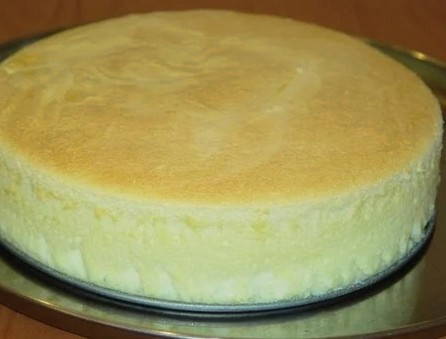
After the specified time has elapsed, turn off the oven, keep the baked biscuit in a closed oven for fifteen minutes and only then take it out. Remove the biscuit from the mold and let it cool completely. The finished biscuit will settle a little, this is normal, and will not affect the final texture. The product can be served as an independent baking or used for making cakes.
Bon Appetit!