Jellied meat in a multicooker "Panasonic"
0
927
Kitchen
Russian
Calorie content
186.7 kcal
Portions
10 port.
Cooking time
6 h
Proteins *
8.4 gr.
Fats *
22.1 gr.
Carbohydrates*
5 gr.

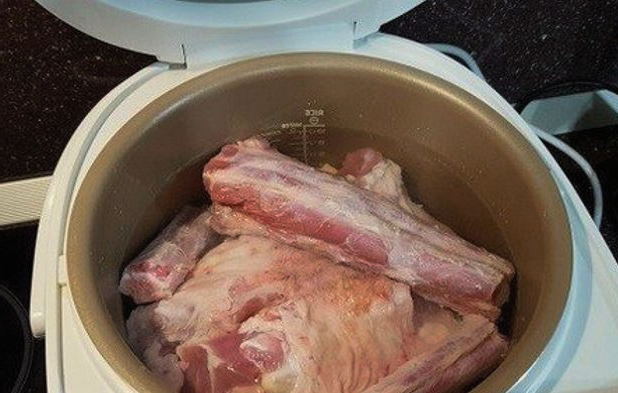
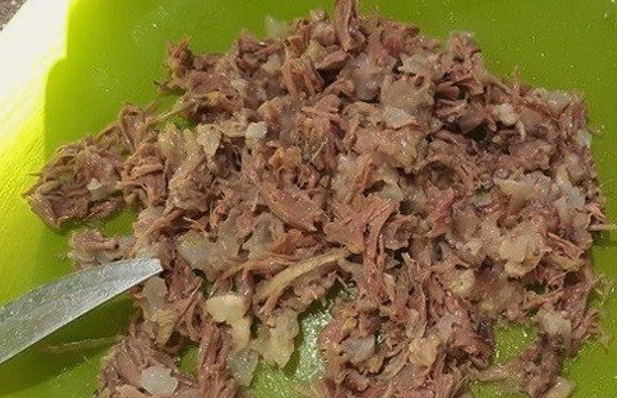
Jellied meat cooked in a Panasonic multicooker has a special taste, richness and transparent broth, besides, it keeps its shape well. You will get an excellent dish for a festive table, and for an everyday menu. It is desirable to cook jellied meat from several types of fresh meat. If the meat is frozen, then it must be soaked in cold water for several hours to make the jelly transparent.
Ingredients
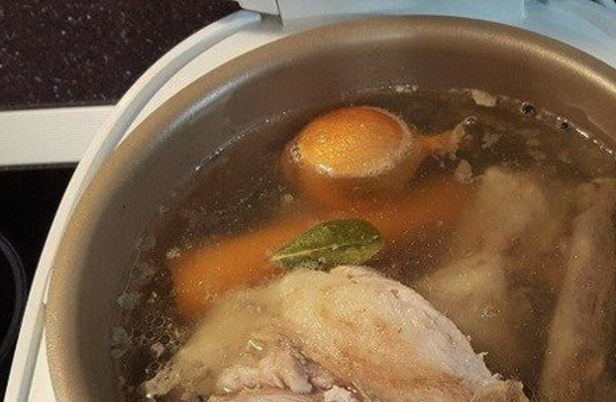
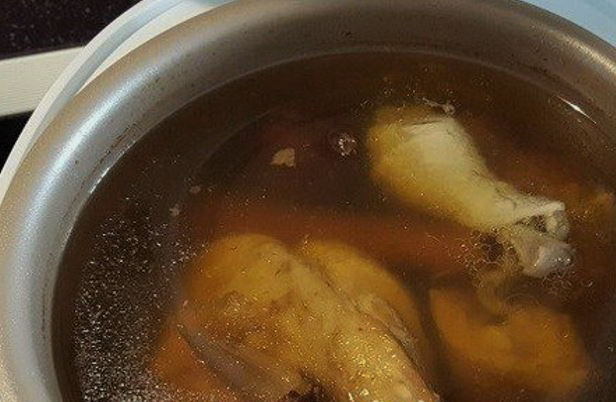
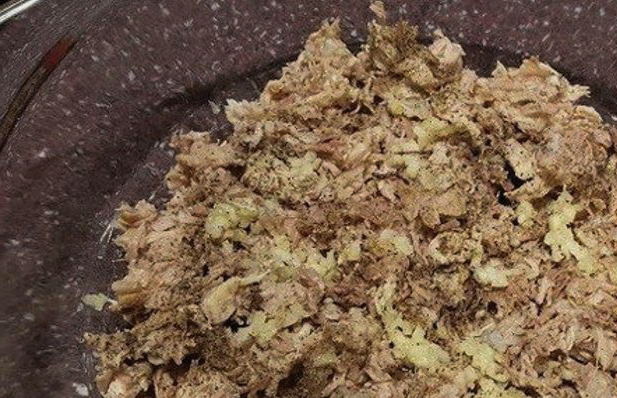
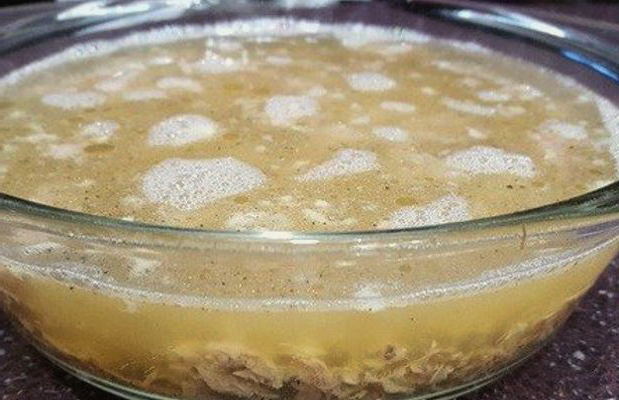
Cooking process
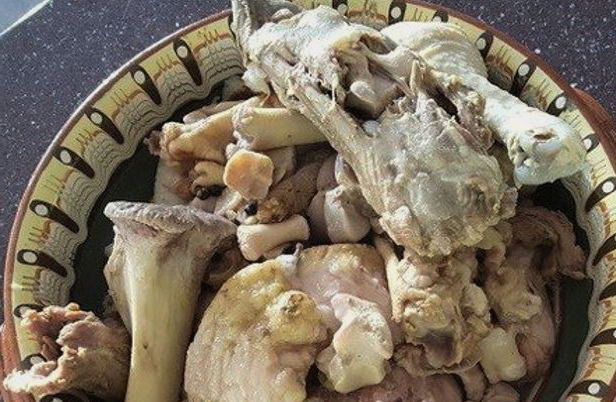

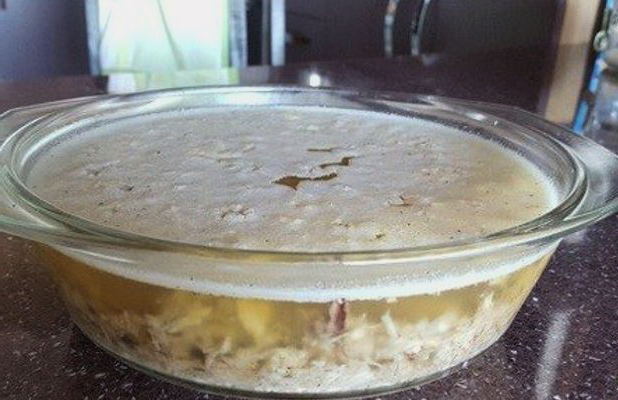
Bon Appetit!