Kulich with milk and sour cream - grandmother's recipe
1
1462
Kitchen
Russian
Calorie content
150.8 kcal
Portions
8 port.
Cooking time
180 minutes
Proteins *
5.2 gr.
Fats *
5.4 gr.
Carbohydrates*
24.7 g
I think this recipe is the best. It is simple because it doesn't take a lot of time. And most importantly, any person will succeed. The recipe is grandma's proven. It turns out tall, porous and damp cakes inside, and most importantly, you do not need to knead the dough for a long time, which will be a plus for any housewife who saves time. Dry yeast has long been included in our daily life and makes cooking easier for us. Therefore, we boldly use them and are not afraid that the dough will not rise. Good, successful and happy Easter everyone!
Servings: 8 small cakes 8 x 8 centimeters or 4 large 15 x 16 centimeters (depending on the shape)
Ingredients
Cooking process

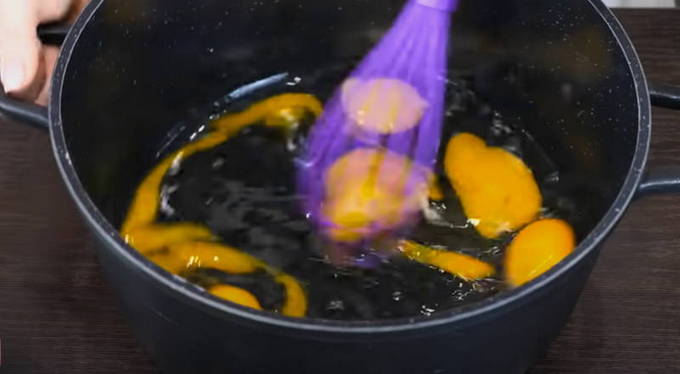
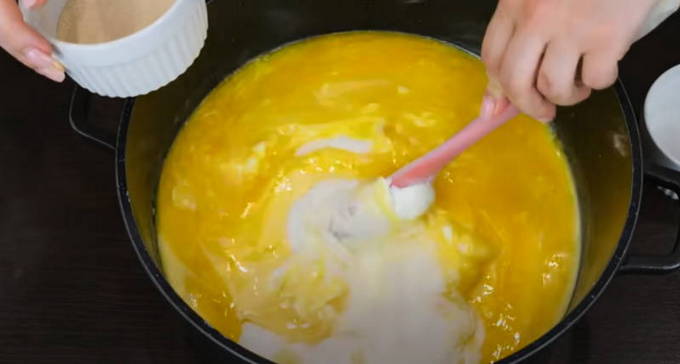

The easiest way to cook with dry yeast. In this case, you do not need to make a dough. (if you cook with fresh yeast, in briquettes, it is necessary to introduce yeast into warm milk of 30-40 degrees, add sugar so that fermentation occurs faster and put in a warm, draft-free place for at least 15-20 minutes). And if we have dry yeast, pour milk, slightly warm, into the eggs. There is also butter or margarine at room temperature, then sour cream 15-20% fat (you can also use less fatty sour cream, according to your taste), sugar and vanilla sugar, one teaspoon of salt. We mix all the ingredients.
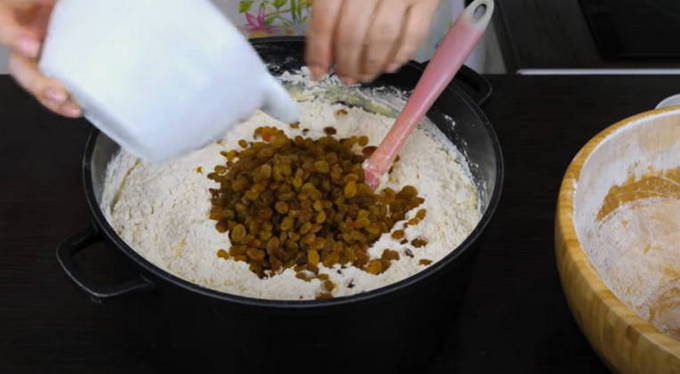
After the dough has become thick enough and sticky (added all the flour) - add the raisins. It is enough to rinse it without steaming. Otherwise, the consistency is not the same. Heat treatment will kill all bacteria. At your request, you can add candied fruits, dried fruits, nuts. In general, whatever you like.
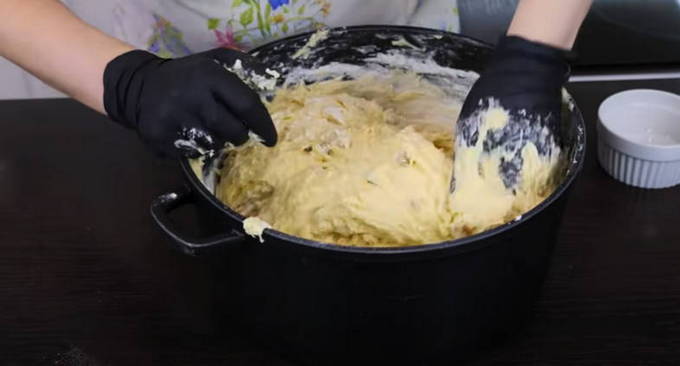
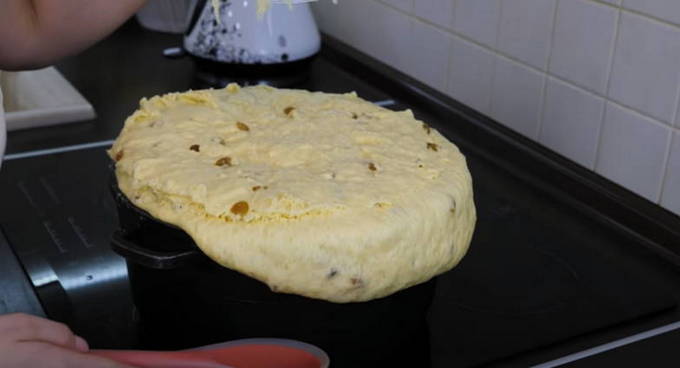
Leave the dough in the container if it is large (8-10 l) or in two smaller pots (4-5 l) and cover with a lid or disposable film to avoid drying the top layer of the dough. We are waiting for it to rise, approximately to the level of the lid or film. It takes about an hour. It depends on whether it was placed in one container or in two. (They will rise faster in two different saucepans. It is enough to sit down the dough 2 times and start cooking when the dough rises a second time.If the dough is in one large saucepan, it will be better to precipitate the dough three times). As soon as it rises, besiege it with light circular movements and cover again.

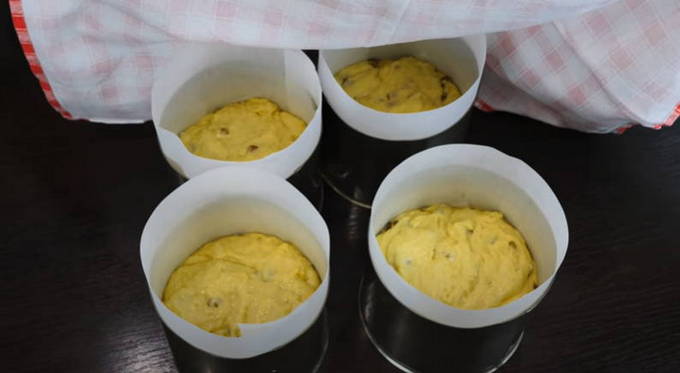
Prepare baking dishes. It's up to you. Cover with parchment so that the dough sticks less and the dishes are better washed later. Grease the parchment with vegetable, olive or butter. Hands also need to be greased with oil so that the dough does not stick. We take the dough and fill out our form, but not entirely, but a little more than half. Because our dough will almost double at temperature.
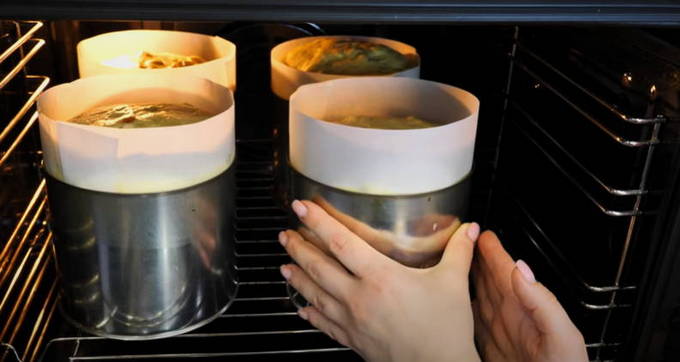
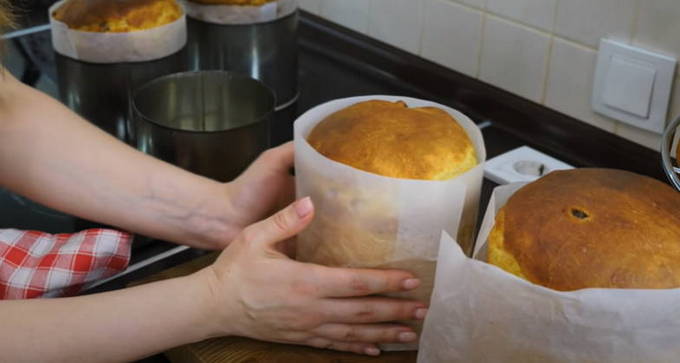
When the cooking time has elapsed and the Easter cakes are ready, remove them from the oven and let stand for 10 minutes. Once cooled, they will be easier to remove from the baking dish. You can not get it out of parchment until you want to use it or hand it to someone. This will help keep the cake dry and prevent excess moisture from seeping out. It is best to leave it in the parchment until it cools completely.
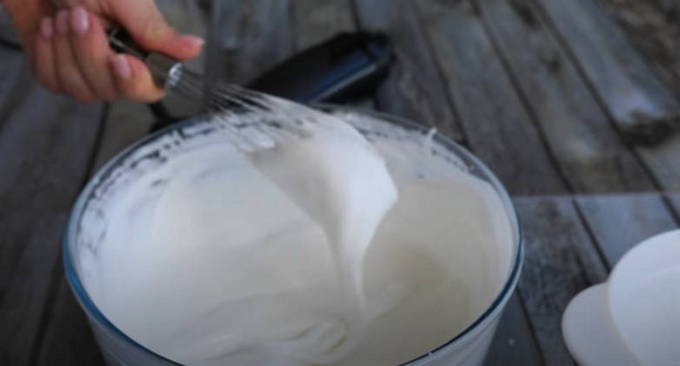
It remains to prepare the icing so that our cakes are super beautiful and mouth-watering. Mix 4 proteins in a container, a pinch of salt, beat with a mixer until a protein foam, gradually add sugar in several passes. When the sugar dissolves, add a pinch of citric acid. You should get a glossy, uniform, thick glaze.
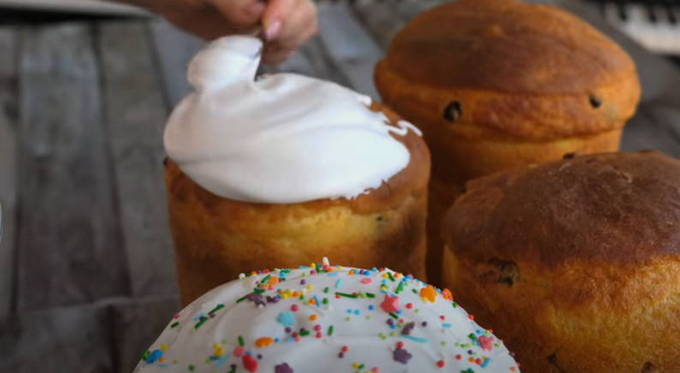
So that the Easter cakes do not become weathered and hardened, do not remove the parchment before use and wrap it in a disposable plastic bag. In this state, Easter cakes can be stored for several days before decorating them. Before direct use, remove the paper and the bag from the cake, then just cover with our glaze. The glaze turns out to be thick, does not blur and does not crack when cutting for a long time. But it is best to apply it before direct use. At your discretion, you can cover the top of the glaze with confetti or other decorations, fruits, mastic, nuts, dried fruits at your request.

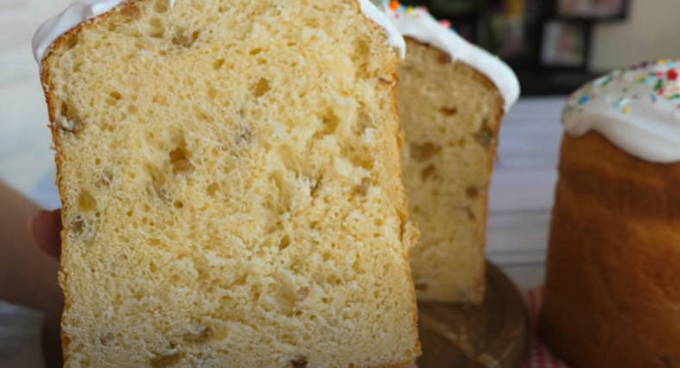
In the cut, you get a very porous, aromatic, raisin-filled bun. It retains its softness for a very long time, up to a week, which is a direct advantage on such holidays. I recommend you to cook this cake. All acquaintances, friends and relatives will be delighted with its juiciness. This is a proven recipe. You will be delighted. With such simple recipes, baking will be a pleasure for you! Be full and healthy!
Similar recipes
Comments (1) 1
Anastasia
02-05-2021 03:40
Cool recipe !!! Thanks a lot!!! All relatives are delighted !!! Happy Easter, Christ is Risen !!!
0
to answer