Kefir cakes with cheese and green onions in a pan

0
1363
Kitchen World
Calorie content 249.1 kcal
Portions 4 port.
Cooking time 25 minutes
Proteins * 16.5 g
Fats * 12.4 gr.
Carbohydrates* 40.4 g
Kefir cakes with cheese and green onions in a pan

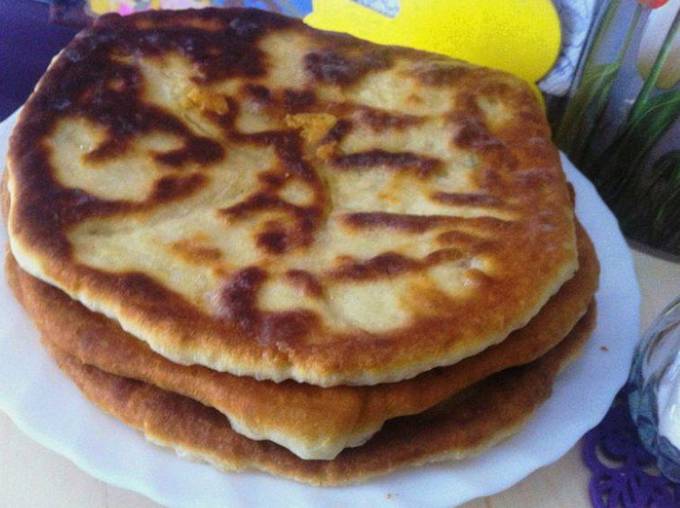
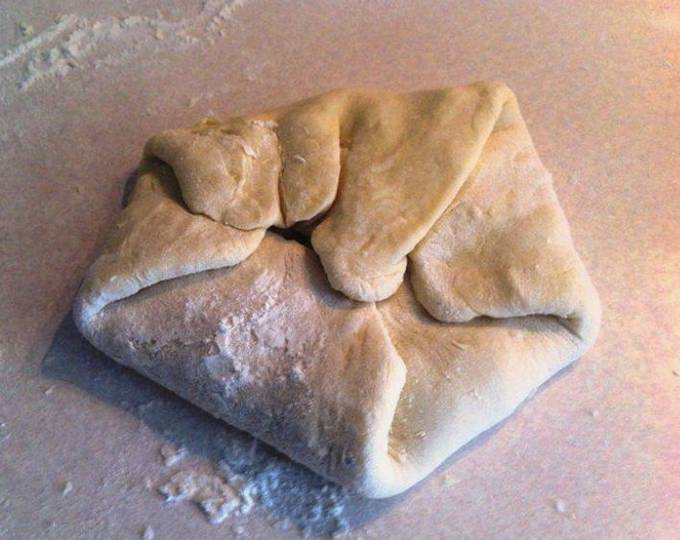
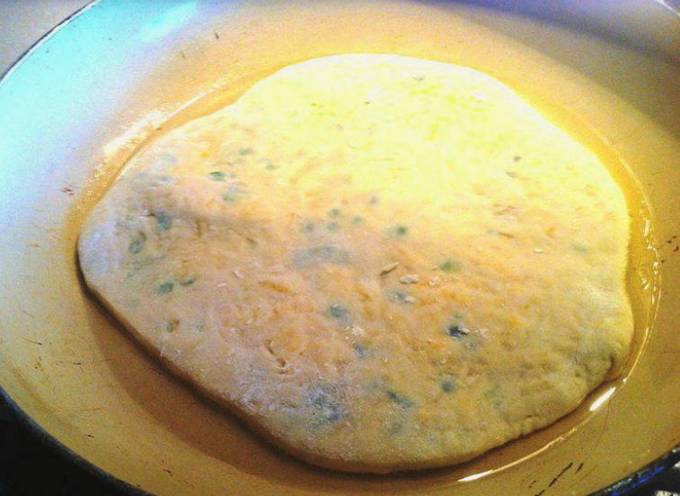
If you urgently need a hearty snack, we suggest making ruddy cakes on kefir dough stuffed with cheese and green onions. They are very juicy, aromatic and very filling. Remotely, such pastries resemble the famous khachapuri, but the cooking process is much faster and easier. It is best to use such cakes hot immediately after cooking, since in the cooled form the dough hardens, and after reheating the crust loses its crispy properties.

Ingredients

Cooking process

step 1 out of 10
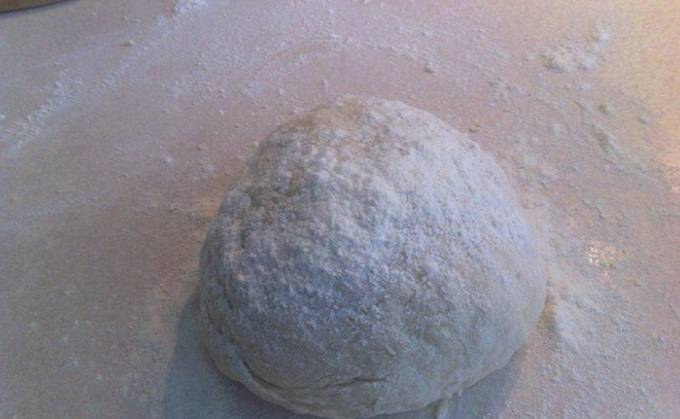
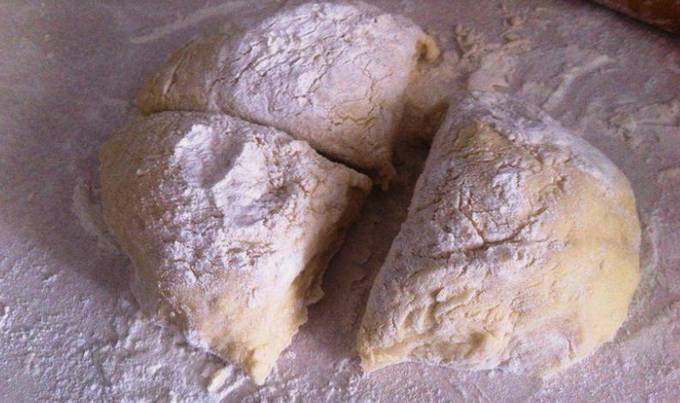
Knead the dough. To do this, pour warm kefir into a bowl. Pour baking soda, granulated sugar and salt to it. Mix thoroughly, break the egg and stir again to achieve uniformity. Finally, add the sifted flour. We recommend doing this little by little to keep track of the consistency of the dough. The finished dough should be soft, pliable, non-sticky and well-shaped. Add more or less flour as needed to achieve the consistency described. Roll the finished dough into a ball, cover with a slightly damp towel and leave for twenty to thirty minutes to ripen.
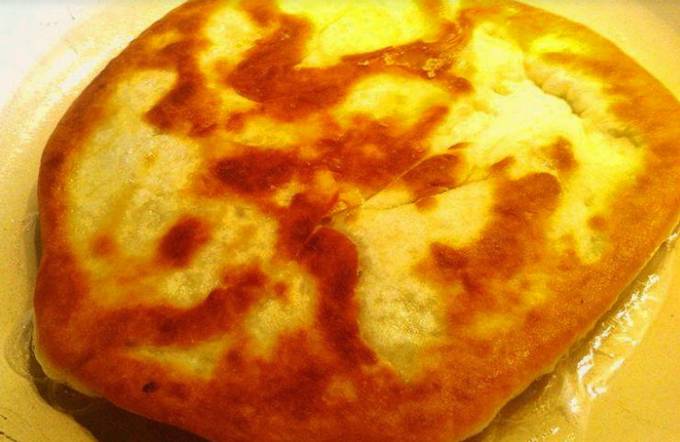
step 2 out of 10
While the dough is "resting", we make the filling. Rub hard cheese on a coarse grater. Pour the cheese shavings into a separate bowl.
step 3 out of 10
We wash the green onion feathers, dry them and cut them with a knife into small transverse pieces. Pour the chopped greens to the cheese, mix - the filling is ready.
step 4 out of 10
Divide the ripened dough into three or four parts. Each piece is a separate cake. We roll each part of the dough into a ball.
step 5 out of 10
Then we roll out the resulting balls on a floured work surface into a thin cake - two to three millimeters. Place the cheese filling with green onions in the middle of each flatbread.
step 6 out of 10
We fold the edges of the cake over the filling according to the envelope principle, as shown in the photo. We try to completely hide the filling.
step 7 out of 10
Roll the resulting cake with a rolling pin on both sides. The thickness of the workpiece obtained is approximately four to five millimeters.
step 8 out of 10
Heat a frying pan with a small amount of odorless vegetable oil until hot on the stove. At the same time, the temperature of the plate is medium-low. Put alternately prepared cakes in hot oil and fry them with the lid closed for a couple of minutes on each side.
step 9 out of 10
If the products swell up strongly during frying, pierce the dough bubble with a knife so that the surface is evenly fried.
step 10 out of 10
Thus, we fry all the cakes one by one. After frying, place the cakes on a paper towel to get rid of excess oil. After drying, serve hot cakes to the table.

Bon Appetit!

Similar recipes

leave a comment

Name
Email
Text *