Chocolate cream for cake decorating
0
4259
Kitchen
World
Calorie content
418.5 kcal
Portions
5 port.
Cooking time
20 minutes.
Proteins *
4.4 gr.
Fats *
28.5 g
Carbohydrates*
35.8 g

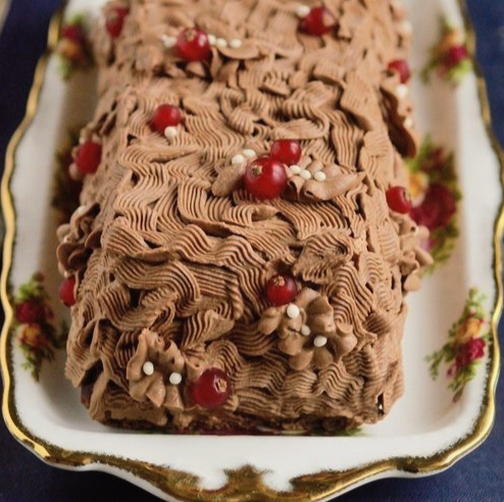
Few people dislike chocolate cream - it adds flavor to baked goods and, of course, gives "character" to any cake. According to this recipe, we prepare a cream with which you can not only lubricate the cakes, but also make various decorations on the surface of the products: the mass keeps its shape perfectly, it turns out, albeit airy, but stable. We recommend using chocolate with a cocoa percentage of 50-60%. The fact is that if the cocoa content is higher or lower than the specified range, then you will need to change the amount of cream to get the desired consistency. If you don't want to “play” with the proportions during the preparation process, you should choose chocolate with the specified characteristics.
Ingredients
Cooking process
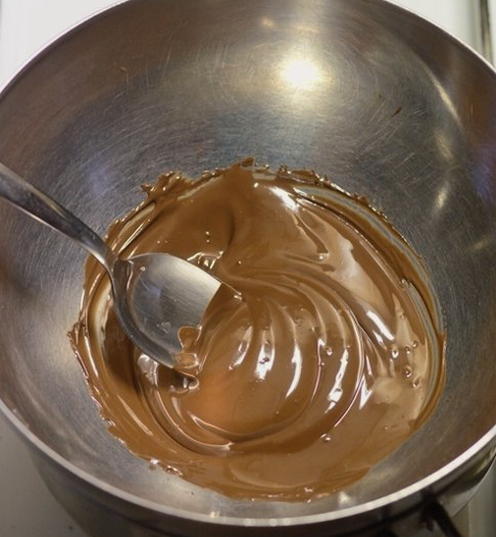
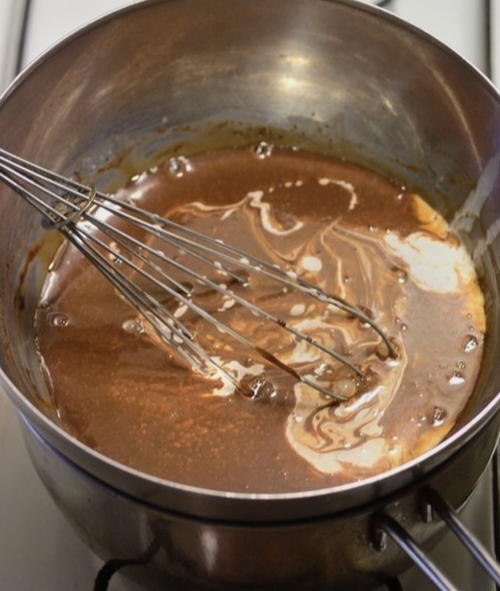
We measure 110 ml from the total amount of cream. and place them in a separate container. Heat the cream until very hot, avoiding boiling. If the surface of the cream is covered with a film, then be sure to remove it. Pour the heated cream into the melted chocolate in small portions, mixing well the total mass after each addition. Thus, we introduce the entire volume of hot cream. After that, pour in the remaining cold cream in a thin stream and mix everything together with a whisk until completely homogeneous.
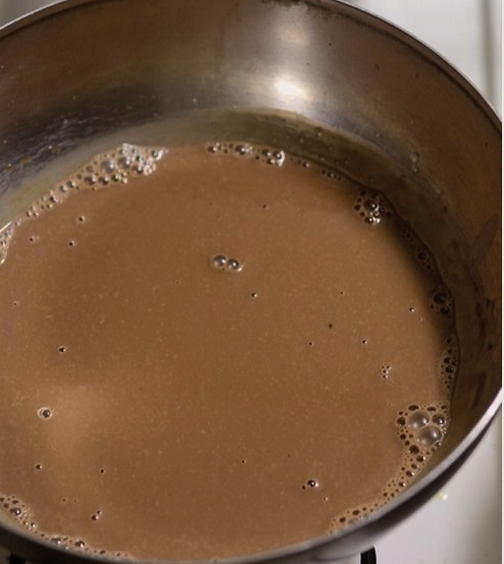
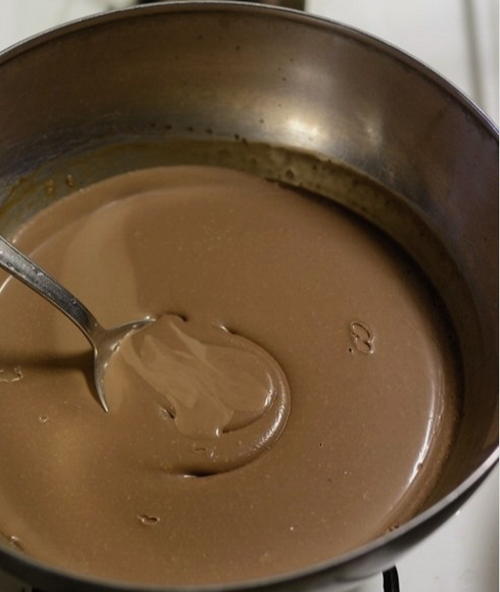
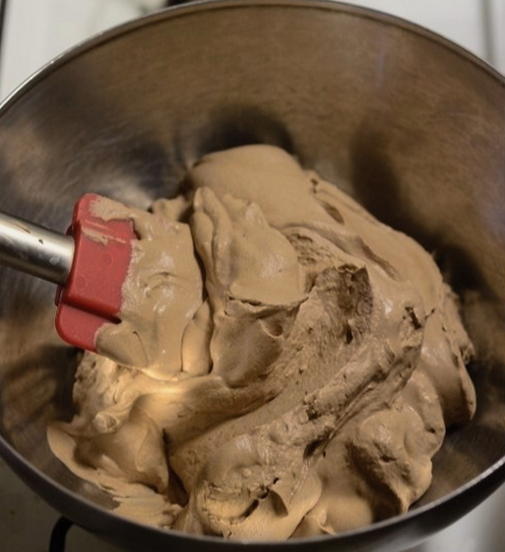
The result is a rather liquid mass, "chocolate cream", which so far hardly resembles a thick cream. But everything will change after cooling. Let the mass cool and place it in the refrigerator for several hours, at least three. It's even better if the "chocolate cream" spends the night out in the cold.
Bon Appetit!