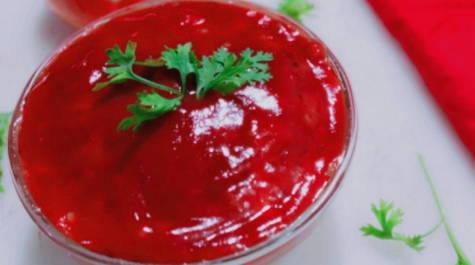
Red currant sauce for winter storage
0
2262
Kitchen
World
Calorie content
152.3 kcal
Portions
1.5 l.
Cooking time
90 minutes
Proteins *
0.7 g
Fats *
0.2 g
Carbohydrates*
36.9 gr.
If you do not like eating lean and ordinary dishes, you should pay attention to this recipe. Such an addition will be able to diversify any familiar food. The sauce will appeal to both older and younger generations.
Ingredients
Cooking process

Before cooking, we need to process the currants. First, inspect the berries for spoiled fruit. To save your time, move the currants to a deep bowl and cover with water. All debris that could get lost among the berries should float to the surface. Gather it up with a piece of clean cloth. Then change the water. Leave the berries in it for about 25 minutes. Then wash the currants well. Transfer it to a colander. Leave the berries in it. So almost all the liquid will drain from the currants. Spread paper towels on the table. Spread the currants on it.
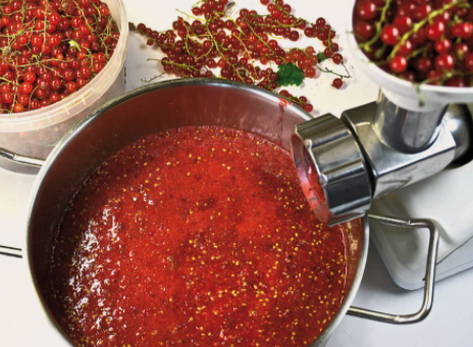
When the berries are completely dry, we need to chop them. For this purpose, you can use a blender or meat grinder. If these appliances are not in your kitchen, chop the berries by hand using a pusher. Grind them through a sieve. You can also use a shallow colander. Squeeze the juice and cake through cheesecloth and mix them together.
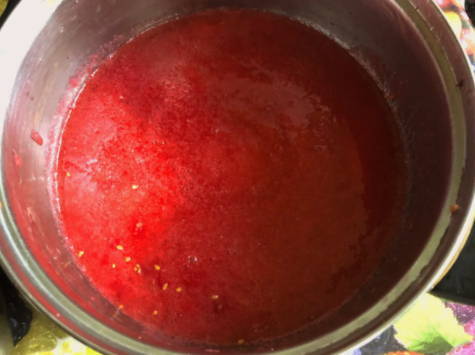
Transfer the currants to a bowl. For example, in a saucepan. Put it on low heat and wait for the berries to gurgle a little. Then reduce heat to very low. The berries must not be allowed to boil. If this happens, you will have to throw the product away. Start gradually adding sugar to the currants. Stir the sauce constantly. After the last sugar, add seasoning and vinegar. Place the sauce well.
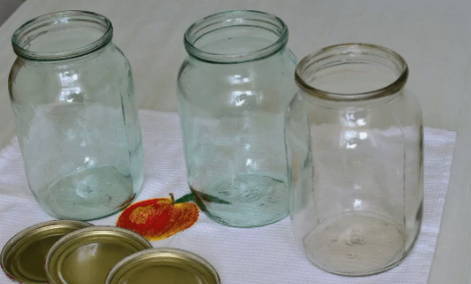
We turn to sterilization of the jars in which the sauce will be stored. First, we need to rinse them thoroughly with detergent or baking soda. Then fill a small saucepan with water. Put it on fire. When the water boils, scald the jars and lids with boiling water. At this point, you can stop. However, it is recommended to sterilize the cans using steam. To do this, you need a kettle or a regular saucepan. Position the jar so that it fills with steam. Keep it in this position for about 2-3 minutes. Then transfer the jar to a towel.
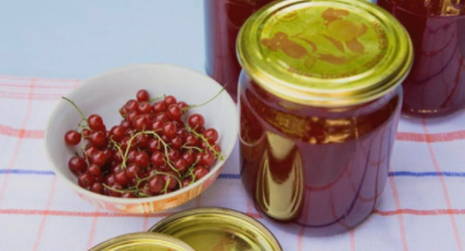
You can strain the sauce before pouring it into the jars. This will remove pieces of berries and seeds from the sauce. Spread it evenly over the jars. Screw on the caps carefully.Turn the jars over and place them on a towel. In this position, the lid will undergo additional heat treatment. When the jars are cool, transfer them to a cool place. You can store the sauce, for example, in the refrigerator.
