Pumpkin juice in a juicer for the winter
0
605
Kitchen
Eastern European
Calorie content
63.2 kcal
Portions
2 p.
Cooking time
5 h
Proteins *
0.3 g
Fats *
gr.
Carbohydrates*
15.7 g

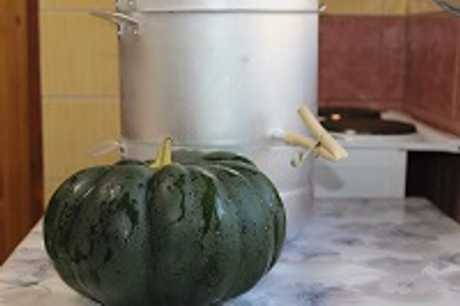
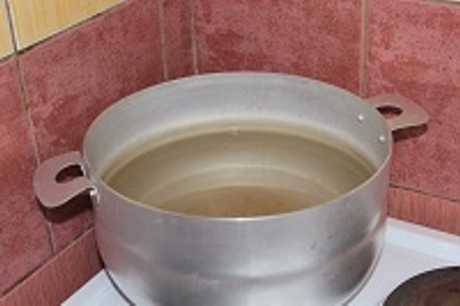
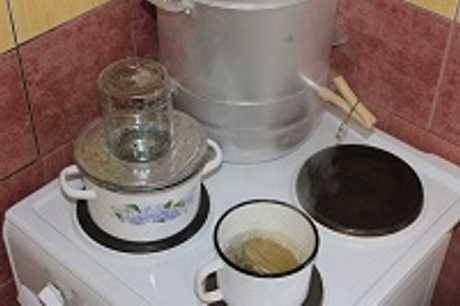
I want to offer another recipe for a tasty and healthy pumpkin juice for the winter. The process of preparing the drink will take place in a juicer. The drink turns out to be incredibly aromatic. To make the juice tasty, choose young and juicy pumpkin, sweet varieties, which are specially designed for the preparation of various desserts.
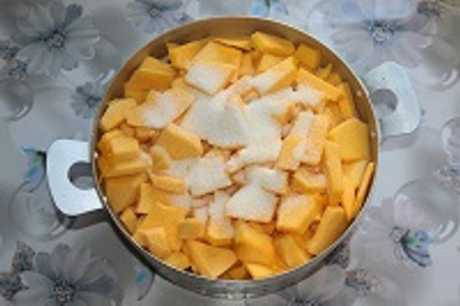
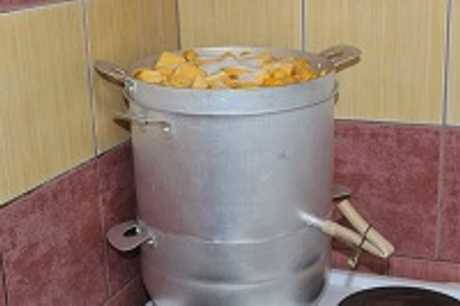
Ingredients
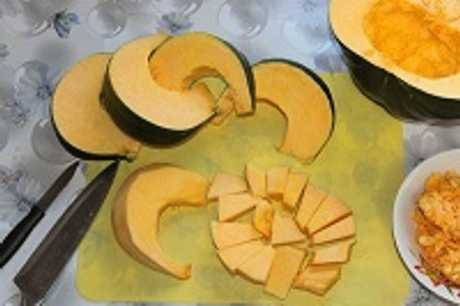
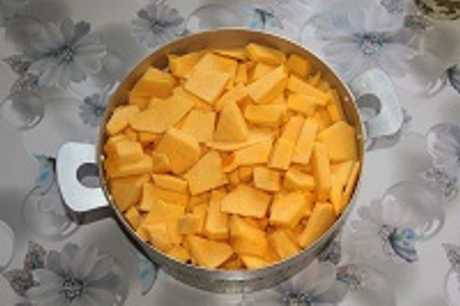
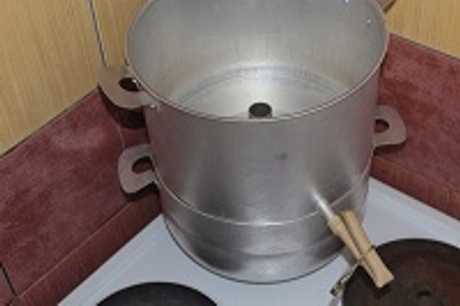
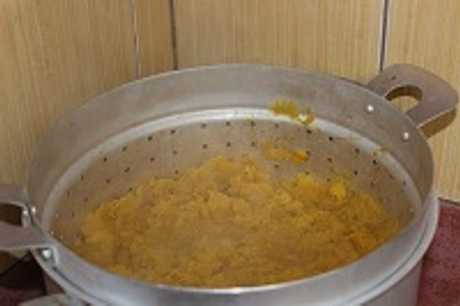
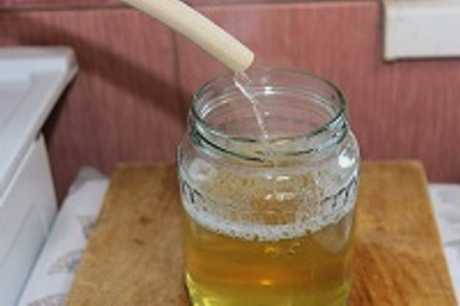
Cooking process
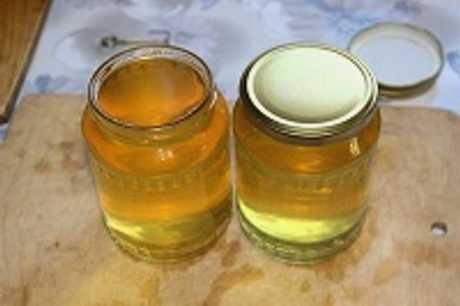
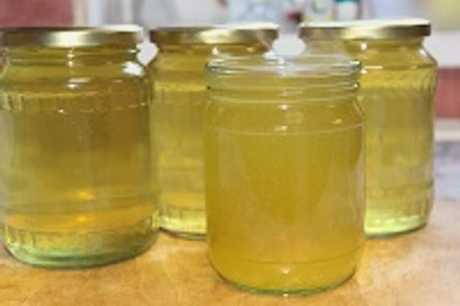
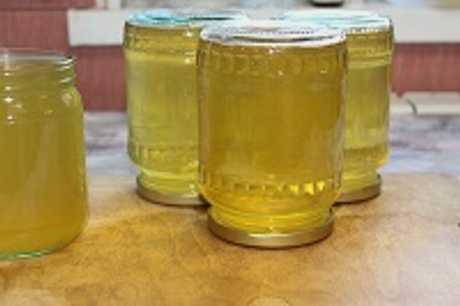
Enjoy a healthy natural drink!