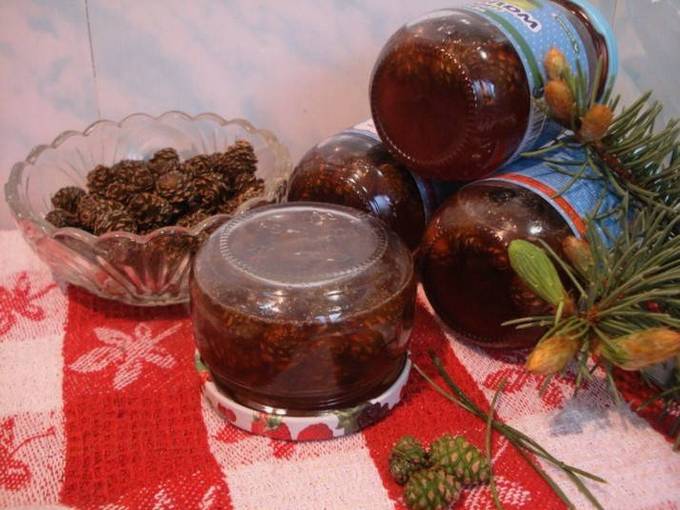
Jam from young green pine cones
0
868
Kitchen
Russian
Calorie content
265.9 kcal
Portions
0.5 l.
Cooking time
150 minutes
Proteins *
gr.
Fats *
0.3 g
Carbohydrates*
66.3 g

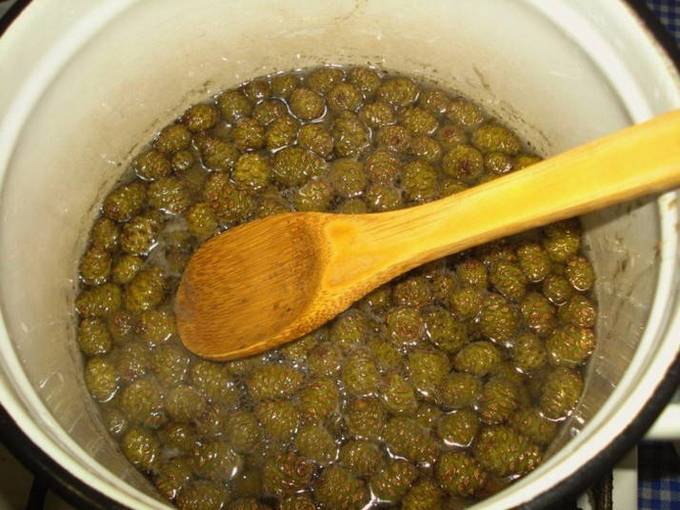
Collecting cones for jam should be done in the spring, in early to mid-May. It is then that the cones are in that delicate state that is suitable for workpieces. It is important to make sure that the pines grow in an environmentally friendly place, away from roads and industrial areas. The size of the collected cones should be no more than 2-3 centimeters - then the finished jam will turn out to be tender, and the boiled cones will be quite soft.
Ingredients
Cooking process
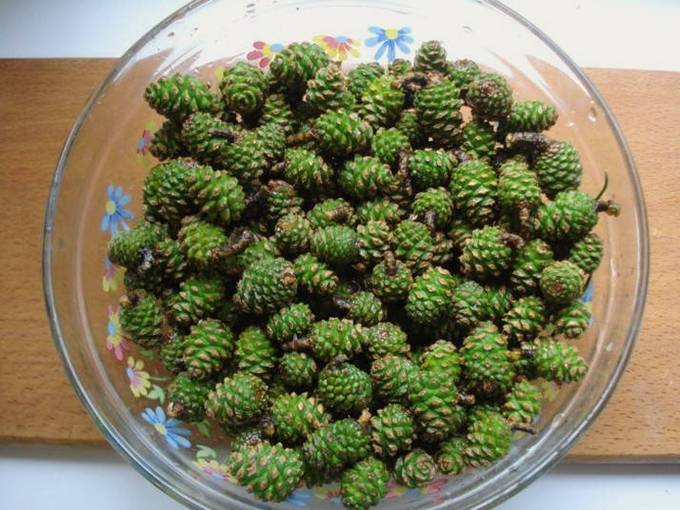
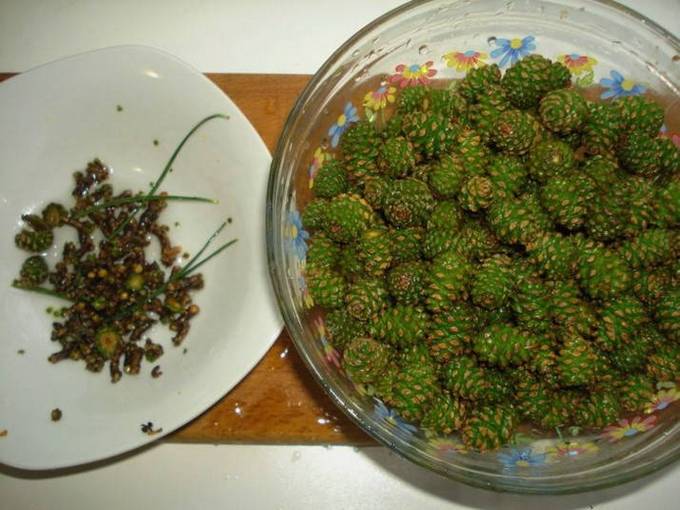
Pour the cones collected for jam into a wide bowl and clean them of "legs", accidentally caught needles and other debris. It should be noted right away that all the dishes with which the cones will come into contact will be quite difficult to launder - all because of the pine resin. Therefore, initially it is worth thinking about which container it is not a pity to use for processing and cooking cones.

Bon Appetit!