Cherry jam with gelatin

0
3381
Kitchen Russian
Calorie content 360.8 kcal
Portions 2 p.
Cooking time 10 min.
Proteins * 1.3 gr.
Fats * 0.3 g
Carbohydrates* 88.5 g
Cherry jam with gelatin

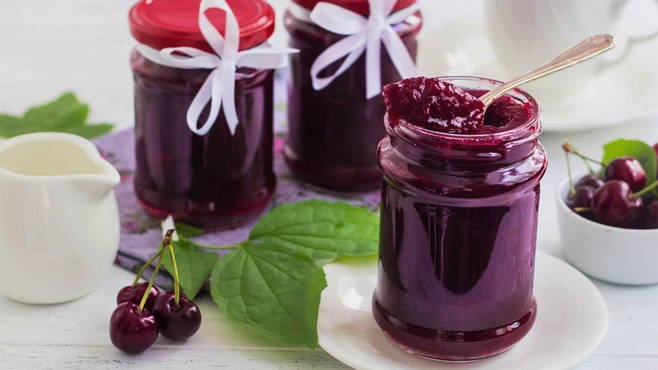
As a rule, in order to get a thick consistency of jam, it is necessary to boil it for a long time: the moisture evaporates and the syrup thickens. But with this method of cooking, vitamins and minerals are rapidly destroyed. But you can make thick jam without long cooking - for this you need jellification. With the addition of this gelling component, the final consistency of the jam is thick, although the berries were heat-treated for a few minutes.

Ingredients

Cooking process

step 1 out of 9
Wash the cherries thoroughly. We discard berries with defects and impurities.
step 2 out of 9
Let the clean berries dry by placing them in a colander or sprinkling them on a large towel.
step 3 out of 9
We remove the seeds from the prepared cherries. You can do this with a pin, but it is much more convenient and faster to use a special device - a bone pusher. It is worth pushing out the seeds over the dishes in which the jam will be cooked so that the valuable juice flows there.
step 4 out of 9
In a separate bowl of small volume, mix all the jellix with a glass of sugar.
step 5 out of 9
Pour the mixture onto the peeled cherries, stir and put the dishes on the stove
step 6 out of 9
... Stirring occasionally, bring the mass to a boil. Pour in the remaining amount of sugar, stir and bring to a boil again. From the moment it boils, we cook the jam for three to four minutes and immediately remove it from the stove.
step 7 out of 9
Remove the resulting foam with a clean, dry spoon.
step 8 out of 9
Pour hot jam into dry sterilized jars and close with clean sterile lids. Let the workpiece cool down and put it in a cool dark place for storage.
step 9 out of 9
A properly prepared jam should thicken within a few days.

Bon Appetit!

Similar recipes

leave a comment

Name
Email
Text *