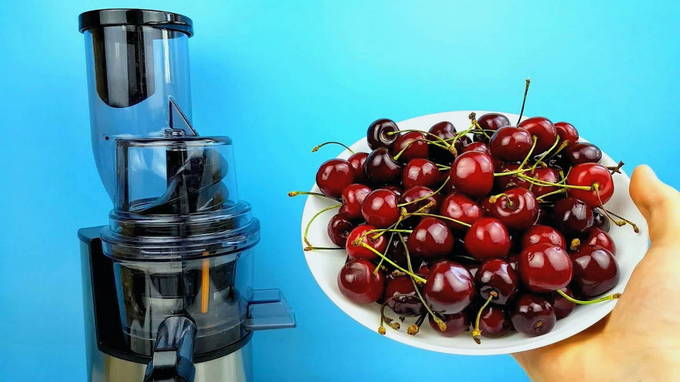
Cherry juice through a juicer at home for the winter
0
1961
Kitchen
World
Calorie content
67.7 kcal
Portions
0.7 l.
Cooking time
195 minutes
Proteins *
0.2 g
Fats *
0.1 g
Carbohydrates*
16.6 gr.
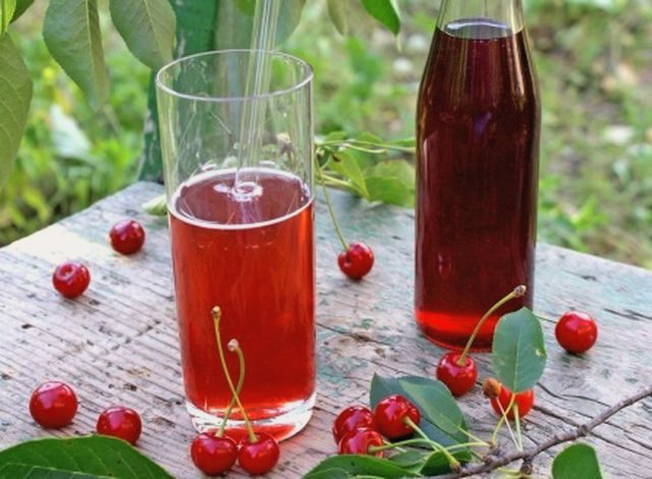
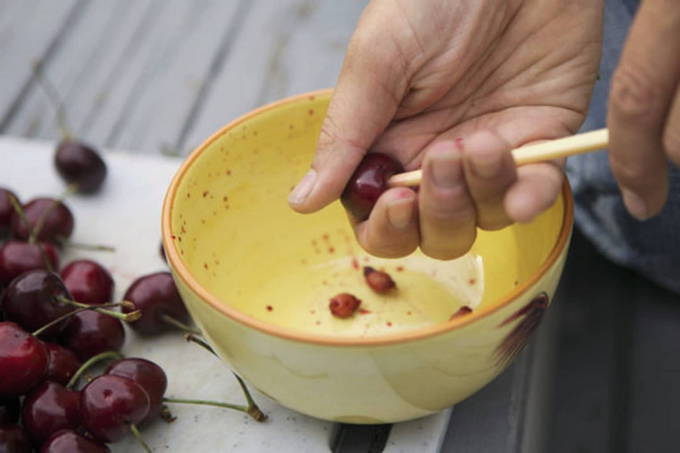
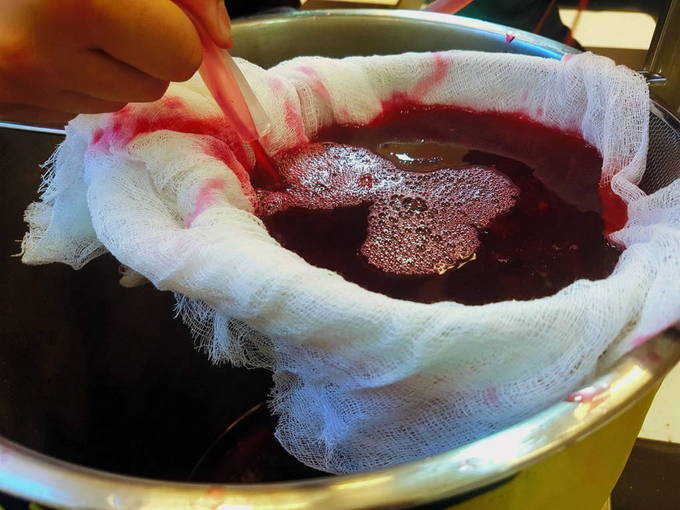
To prepare a tasty and healthy drink, you need to make an effort: remove the seeds from the cherries, and then squeeze the juice out of the cherry pulp. The remaining cake can not be thrown away - it will make excellent jam.
Ingredients
Cooking process
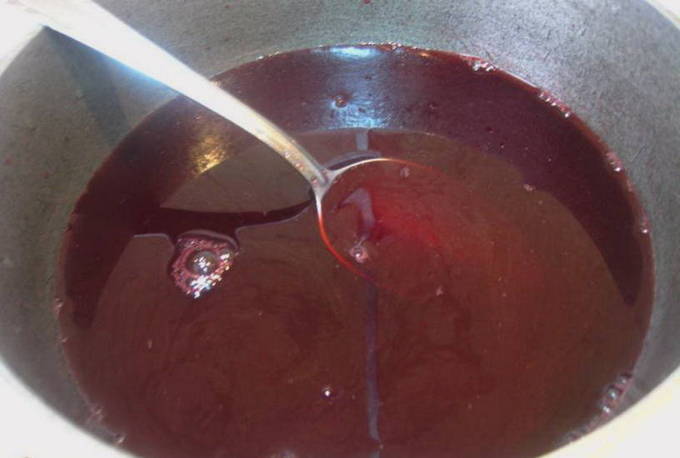

Bon Appetit!