Cherry juice in a juicer for the winter
0
922
Kitchen
World
Calorie content
67.7 kcal
Portions
3 l.
Cooking time
160 minutes
Proteins *
0.2 g
Fats *
0.1 g
Carbohydrates*
16.6 gr.
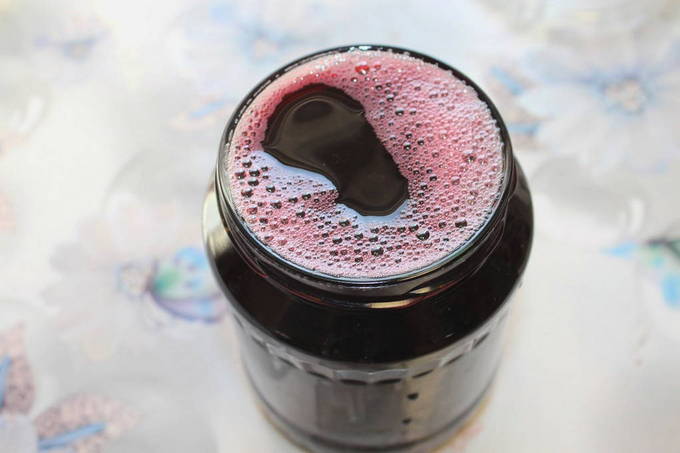
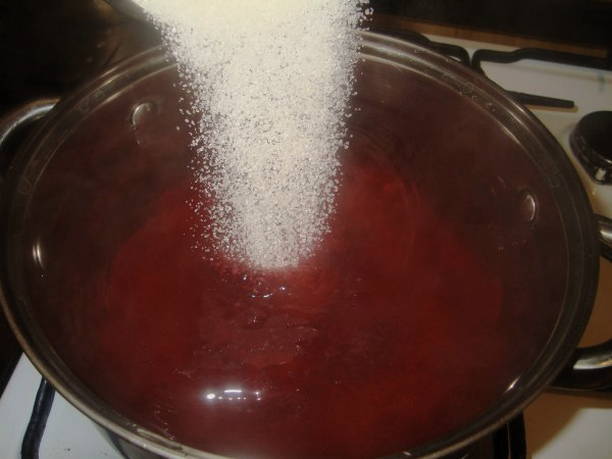
It is not necessary to add sugar to cherry juice during the preparation process. However, the free-flowing ingredient is a good preservative that allows the drink to last for a long time.
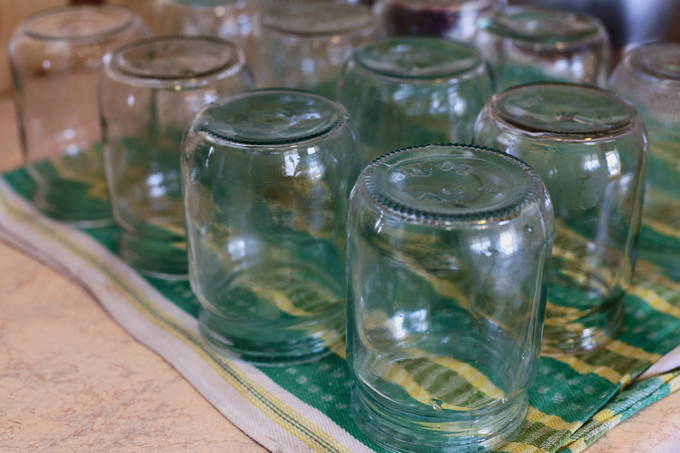
Ingredients
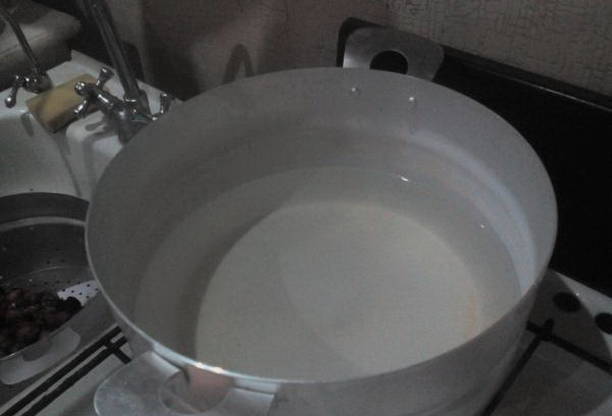
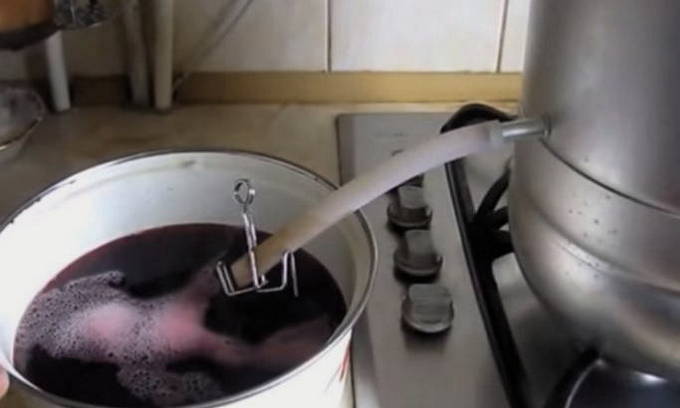
Cooking process


Bon Appetit!